
 Follow @mickyroudy
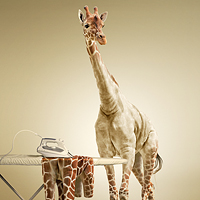 Have you ever wanted to know what a Giraffe looks like without its spots? If so, this tutorial is for you, you pervert! Today, we will demonstrate how to undress a giraffe by removing its spots. We will then show how to turn its spots into an outfit that will be draped over an ironing board. Pretty cool! Let’s get started!...
Step 31
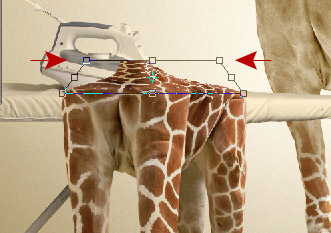
Apply Perspective transformation.
Step 32
Make active top layer of the jacket layers. Erase iron and area above ironing board. Try to imitate skin wrinkles shape.


Step 33
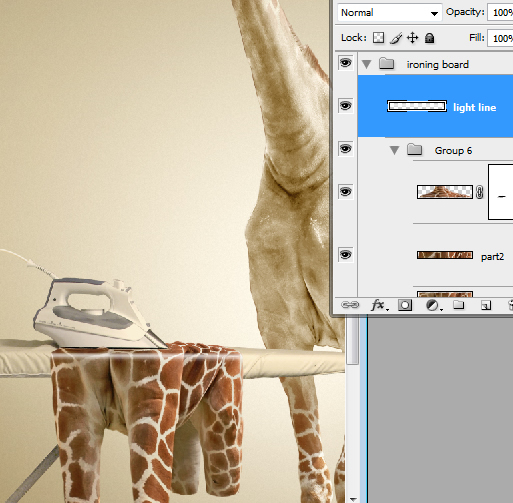
Draw white line with Line Tool in a new layer above giraffe jacket, use weight around 13 px and apply Gaussian Blur Filter (R=10px).
Step 34
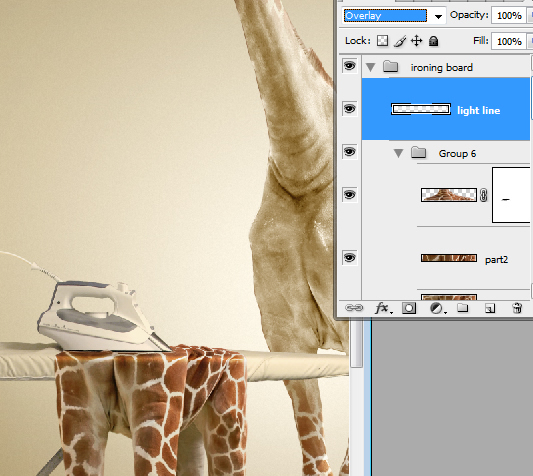
Change Blending Mode for this layer on "Overlay".
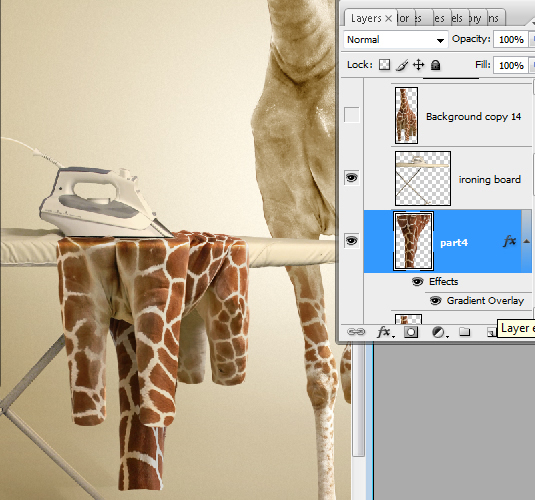
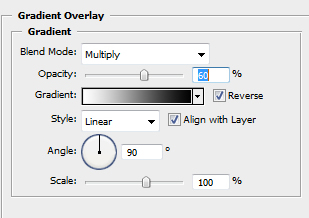
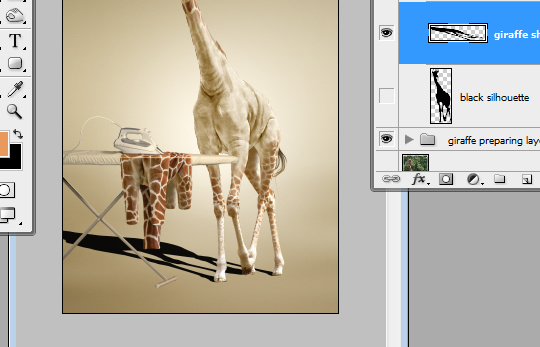
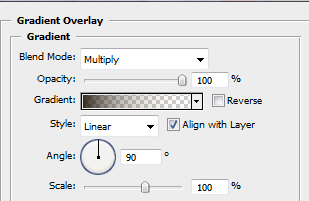
Step 35
Copy neck area from the original retouched Giraffe layer. Paste it into a new layer below ironing board layer. Apply flip Vertical transformation to this shape and Gradient Overlay layer style effect with settings like on the screen shot below.
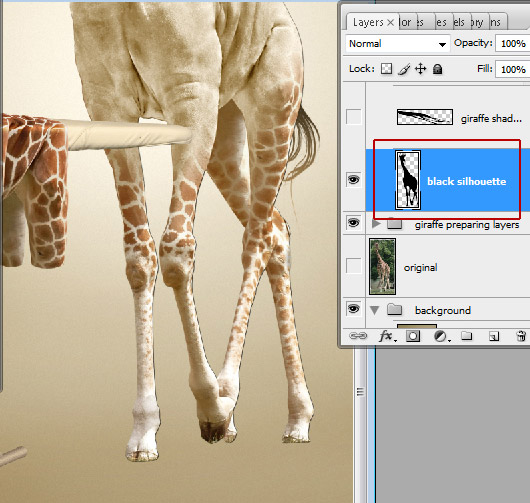
Step 36
The final part of our work is creating the drop shadow effect for Giraffe and Ironing board. Load selection for Giraffe shape (Command/Ctrl + click Giraffe layer thumbnail). Create a new layer below of the all visible giraffe layers. Fill selection with any color.
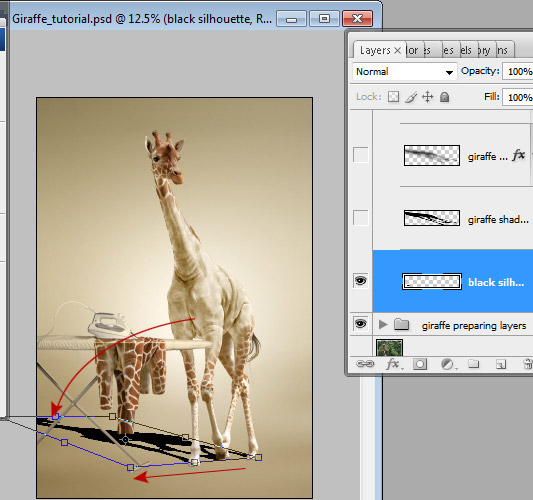
Step 37
Apply Distort transformation to created shape. Edit > Transform > Distort. Move top edge and left bottom corner left and down. Try to combine drop shadow and legs in same points. Correct central legs shadow with Eraser Tool.
Step 38
This is result of our transformation.
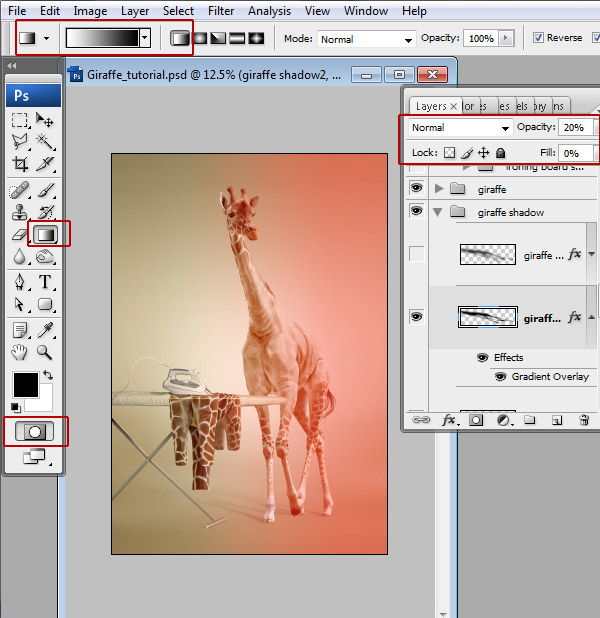
Step 39
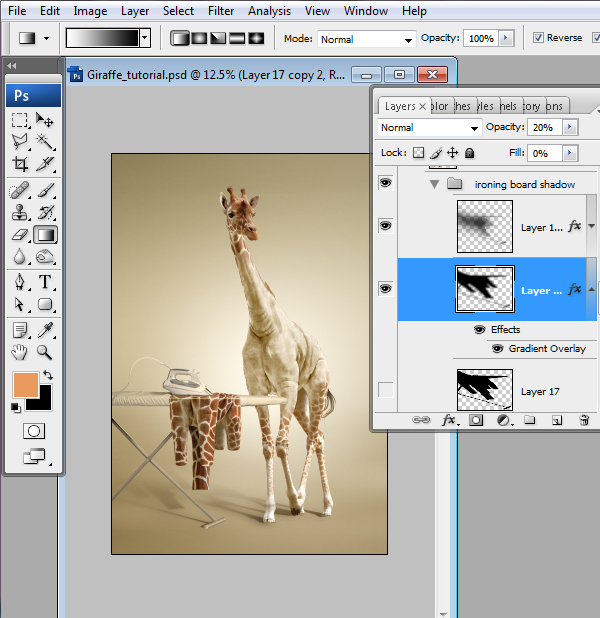
Set Fill parameter 0% and Opacity around 20% for the shadow layer. Apply Gradient Overlay layer style effect. Make active Quick mask Mode, fill layer with linear gradient like on the example below.
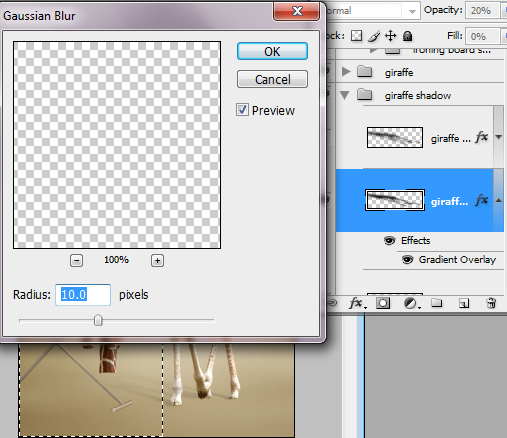
Step 40
Click Quick Mask icon and apply Gaussian Blur to the selected area of the shadow layer.
Step 41
Duplicate shadow layer and apply Gaussian Blur filter with radius = 50 px and change Opacity to 70-75%.

Step 42
Create shadow effect for the ironing board using the same method. Load selection for ironing board and jacket, Apply Fill = 0%, Gradient Overlay effect with the same parameters. Apply Blurring 10 px and duplicate shadow layer with Opacity 75% and More Blurring.
Final Image

 Follow @mickyroudy


