
 Follow @mickyroudy
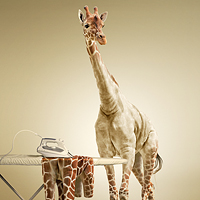 Have you ever wanted to know what a Giraffe looks like without its spots? If so, this tutorial is for you, you pervert! Today, we will demonstrate how to undress a giraffe by removing its spots. We will then show how to turn its spots into an outfit that will be draped over an ironing board. Pretty cool! Let’s get started!...
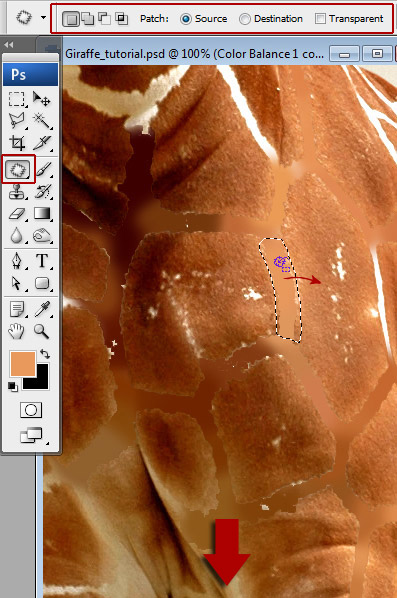
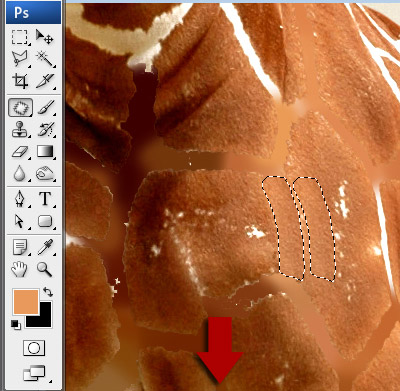
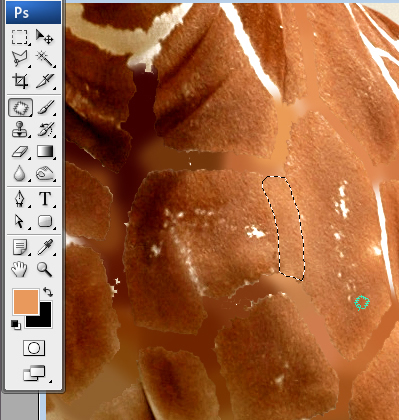
Step 16
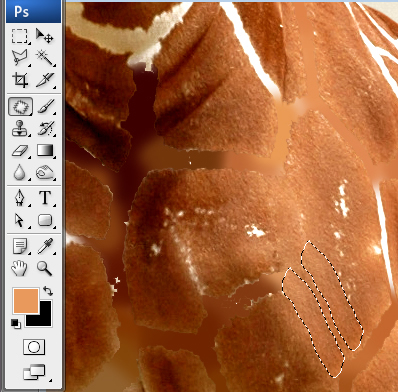
To remove stripes traces, use Patch Tool. Drag the selection border to the clean and textured skin area. When you release the mouse button, the trace of the selected area is patched with the sampled pixels. Repeat these actions to mask all stripe traces.
Step 17
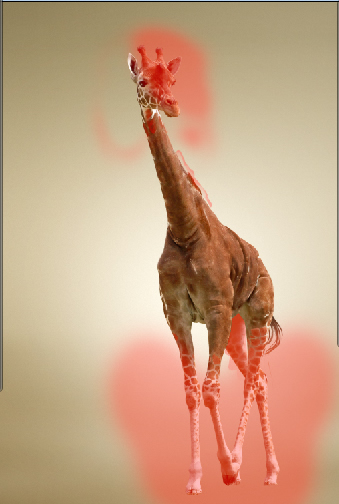
You will have giraffe body without spots.

Step 18
Correct the "Clean skin" layer edges with smooth Eraser Tool to create blending effect between original (spotty) bottom layer and "Clean skin" layer.
Step 19
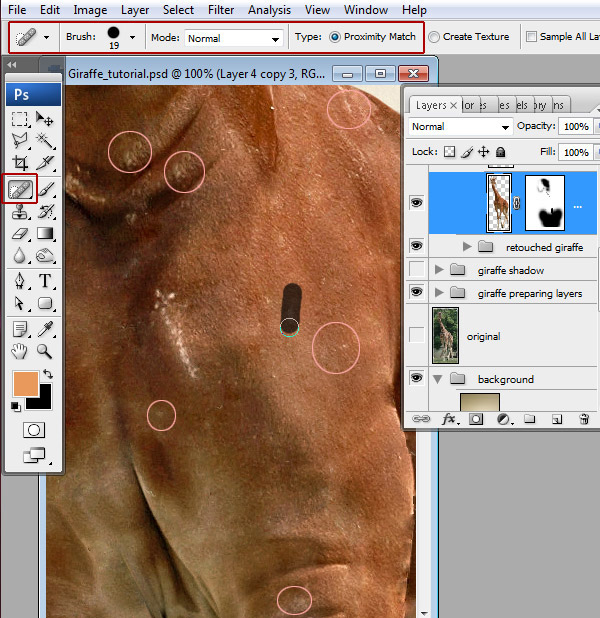
Mask the small defects with Patch Tool and Spot Healing Brush Tool. Choose a brush size in the options bar. A brush that is slightly larger than the area you want to fix works best so that you can cover the entire area with one click.
Step 20
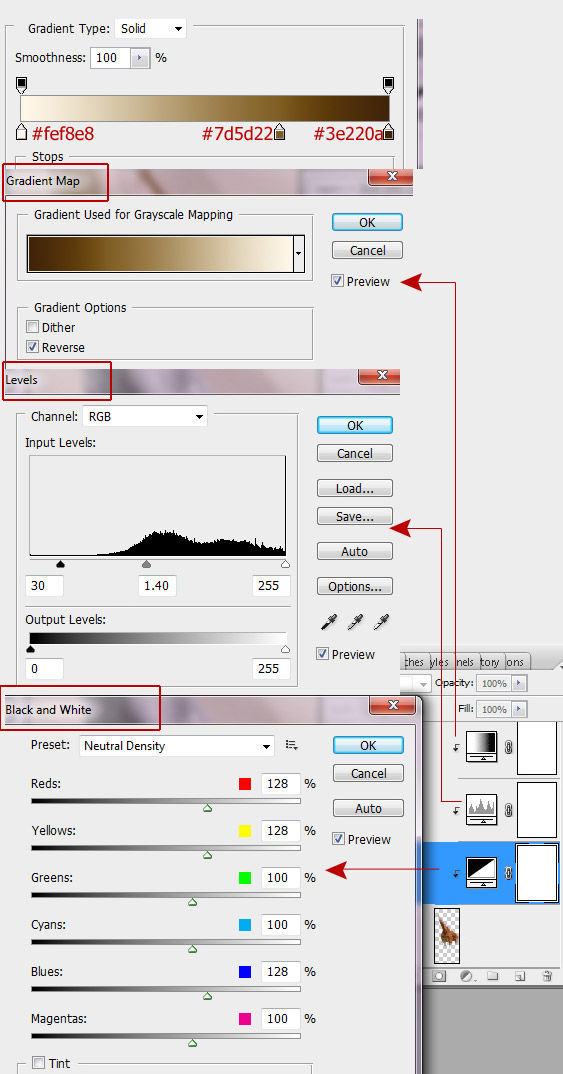
Now we can change skin color and levels balance. Add "Gradient Map", "Levels" and "Black and White" adjustment layers and create Clipping Mask for "Clean skin" layer. Apply following settings.
Step 21
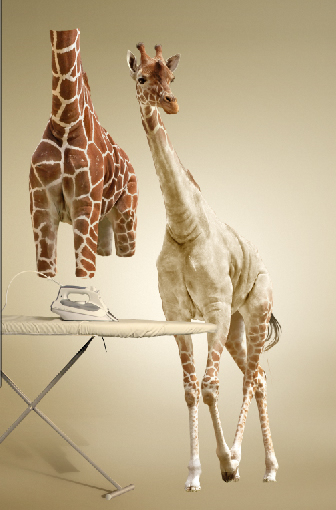
Insert Ironing Board image, it doesn’t require any changes and adjustments.
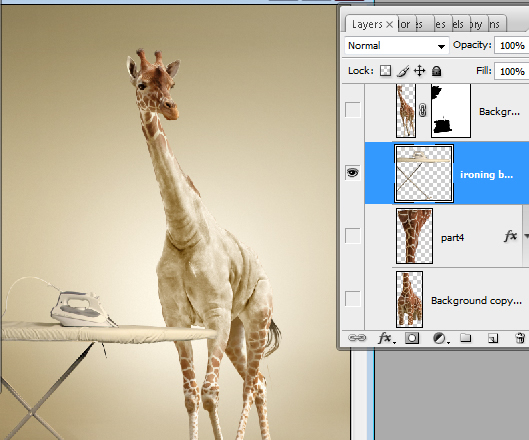
Step 22
Return to the retouched Giraffe layer and duplicate it once again. We will make Giraffe’s jacket using a new copy. Erase head and legs area.
Step 23
This is a shape for our future jacket.
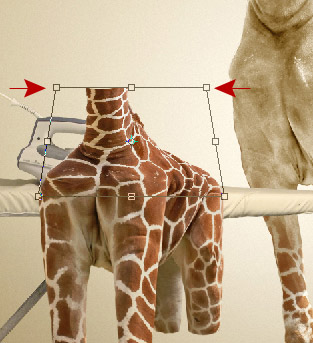
Step 24
Correct the shape of the spotty jacket using Warp Transformation. Make a shape flatter. Go to Edit > Transform >Warp.
Step 25
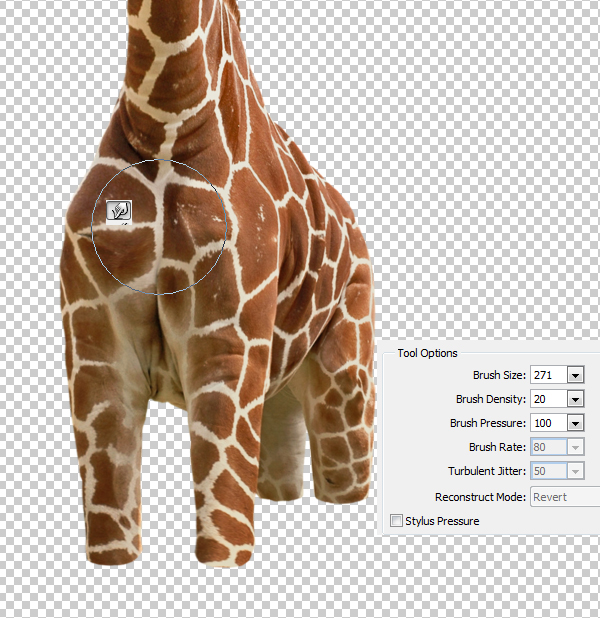
Liquify filter from Filters menu will help you to create flat shape effect. Use large Forward Warp Tool to correct large areas and smaller Warp Tool size to work with parts such as legs or skin wrinkles.

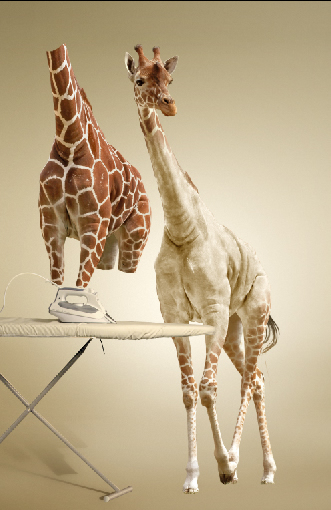
Step 26
Now we have flatter shape for the jacket.
Step 27
Apply Free transformation to jacket shape, make it smaller and little bit stretched by horizontal.
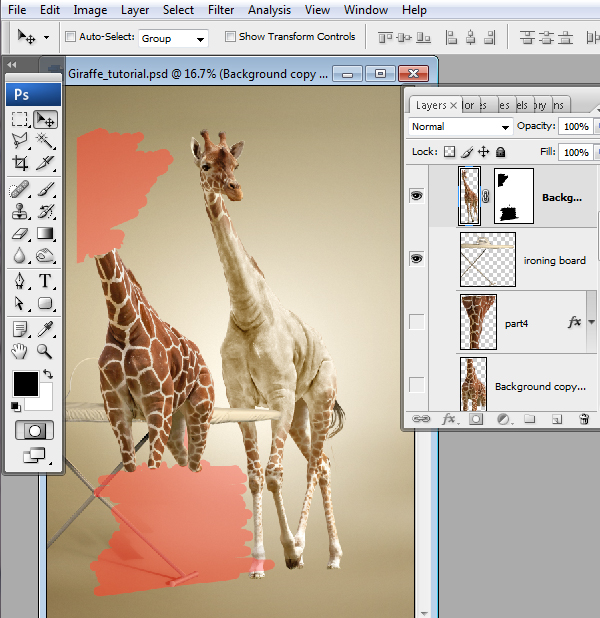
Step 28
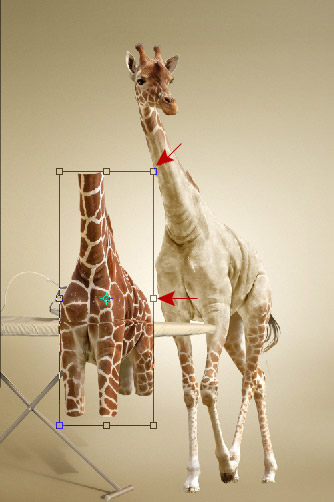
Select top part (above ironing board bottom edge) of the spotty jacket, cut out this part and paste it into a new layer. Stretch it by vertical using Free Transformation like on the example below.
Step 29
Apply Perspective Transformation to the top edge, Menu > Edit > Transform > Perspective.
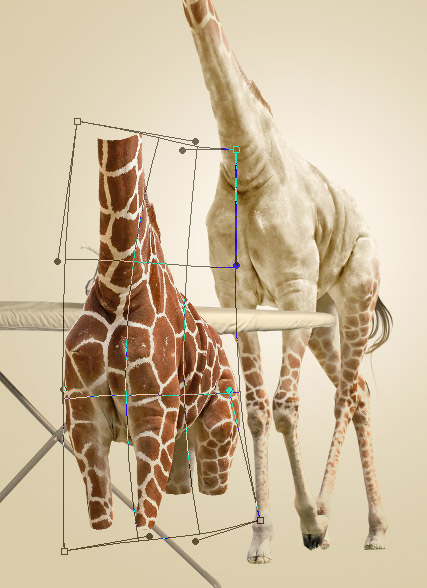
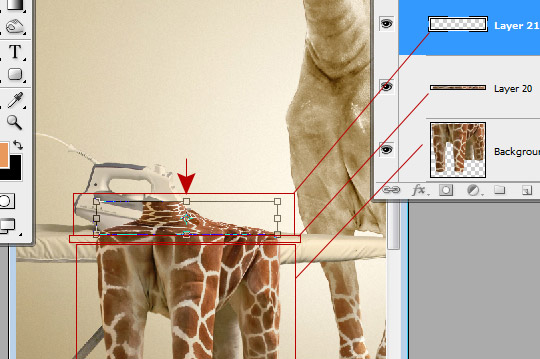
Step 30
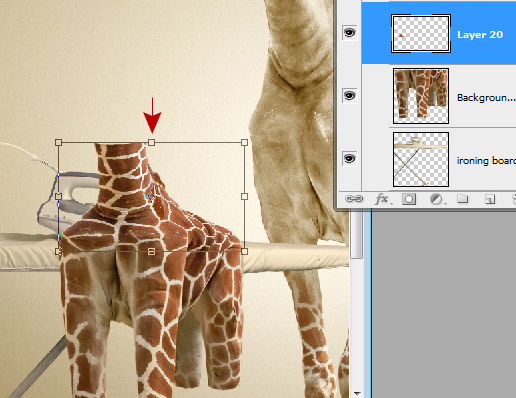
Keep active modified top part of jacket layer. Cut out top part again (above ironing board top edge), just leave stripe above trouser-legs ("Layer 20" on the screen shot below). Stretch top part by vertical again.
 Follow @mickyroudy


